Buffalo weather doesn’t do wood any favors. Between the lake-effect snow, the summer humidity, and everything in between, a fence takes a beating year after year. Staining is one of the few maintenance jobs that actually protects your investment instead of just making it look nice for a season.
If you’ve searched fence staining near me and landed here trying to figure out how to stain a fence on your own, this guide walks through the whole process. Tools, prep, technique, timing, all of it. By the end, you’ll know exactly what a proper job takes, and whether it’s something you want to handle on a Saturday or hand off to someone else.
Why Staining Matters More Than People Think
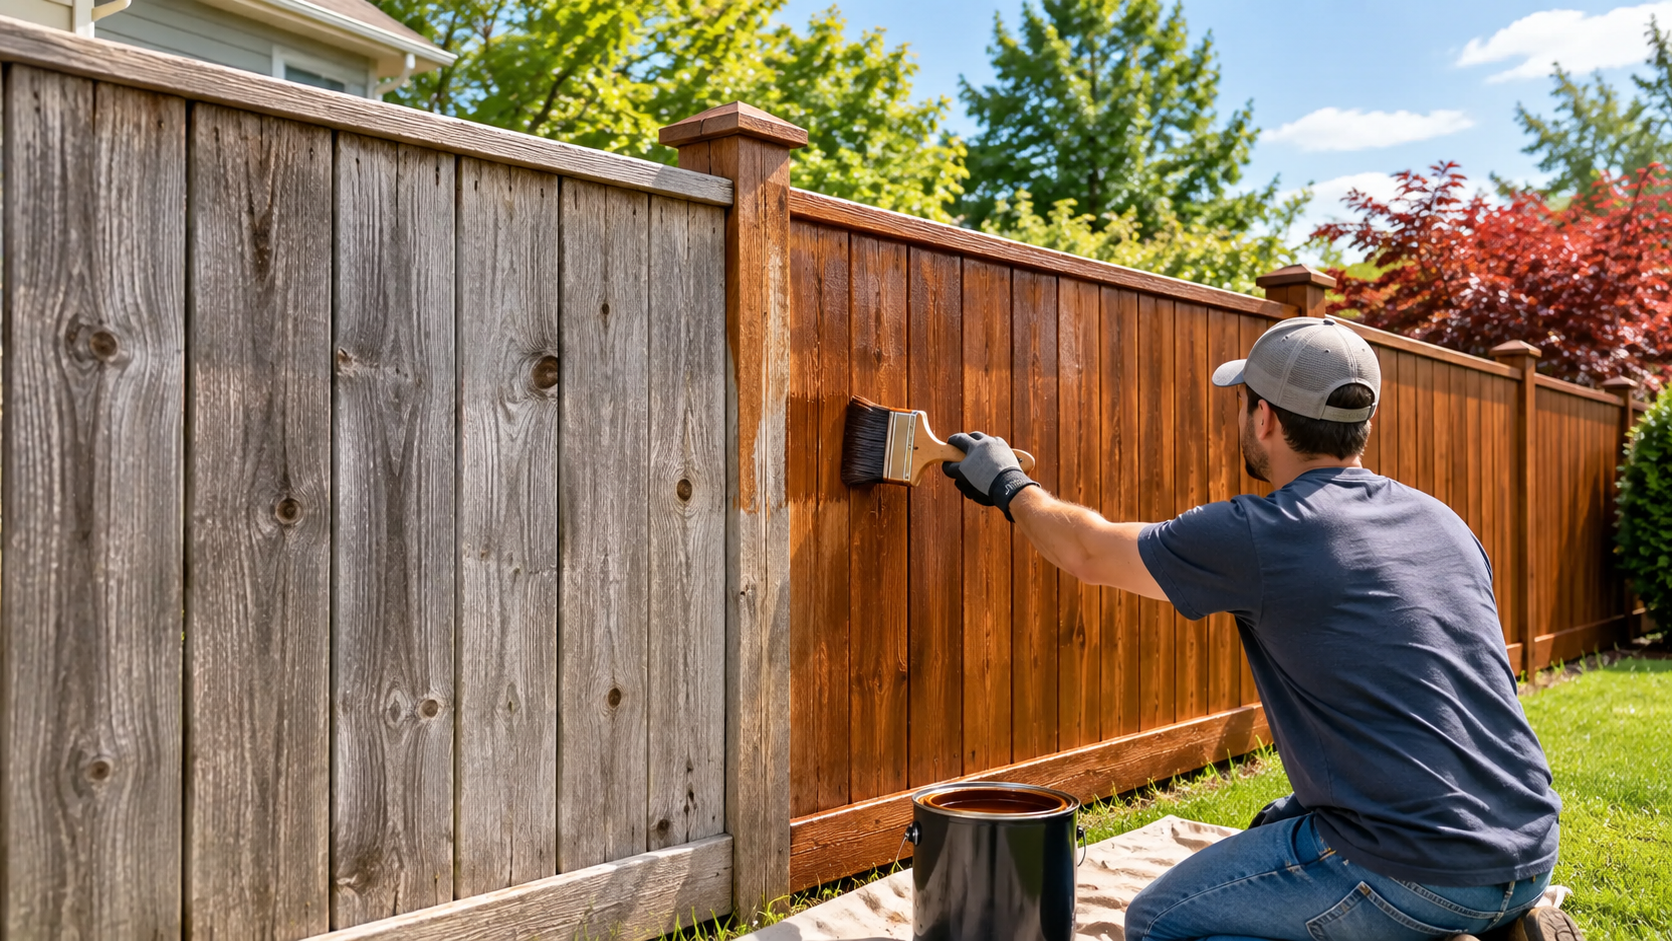
A lot of homeowners treat staining as a cosmetic choice. It’s not, not really. Wood is porous. Without a protective coat, it soaks up rain, dries out in the sun, and starts cracking and warping faster than most people expect. In a climate like ours, an unstained cedar or pine fence can show real wear within two or three years.
Staining slows that process down. It’s not permanent protection- nothing is- but a good job done right can add years to a fence’s life and keep it looking decent the whole time.
Tools and Materials Checklist
Before touching any wood, get everything laid out. Running back to the hardware store mid-project is how a two-hour job turns into a two-day job.
You’ll want a pressure washer or stiff-bristle scrub brush, wood cleaner or brightener, sandpaper for rough spots, painter’s tape for anything you don’t want stained, drop cloths, stir sticks, a good quality stain (semi-transparent or solid, depending on the look you want), and your application tool of choice: brush, roller, or sprayer.
Gloves and eye protection aren’t optional either. Stain splashes more than people expect, especially with a sprayer.
One thing worth mentioning: cheap stain rarely saves money in the long run. It fades faster, protects less, and means redoing the whole job sooner than you’d like.
Cleaning and Prepping the Wood
This step gets skipped more than any other, and it’s the one that matters most. Stain doesn’t bond well to dirt, mildew, or old flaking finish. Skip the cleaning, and you’re basically painting over a problem instead of fixing it.
Start with a pressure washer on a low setting, or a scrub brush and wood cleaner if you don’t have one. Work in sections, rinse thoroughly, and let the wood dry completely before moving forward. This part takes patience. Wet wood won’t take stain evenly, and rushing this step is one of the most common mistakes in DIY fence staining.
Give the fence at least 24 to 48 hours to dry fully after washing, longer if humidity is high. Buffalo summers can be sticky enough that drying takes longer than you’d think.
Repairing Before You Stain
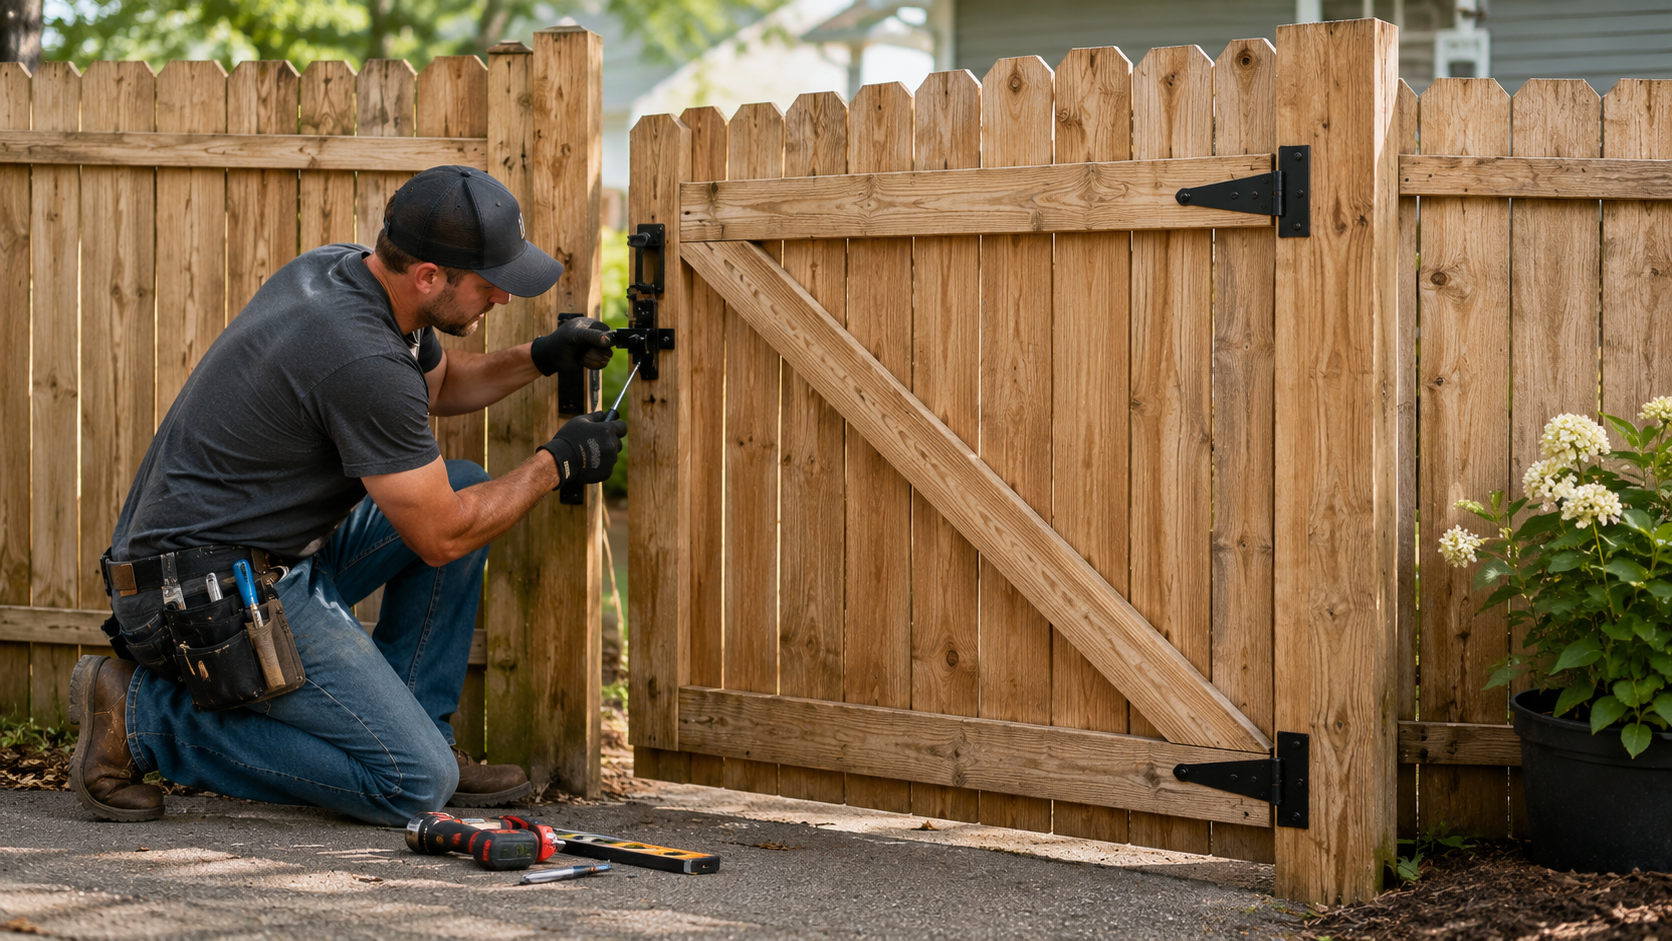
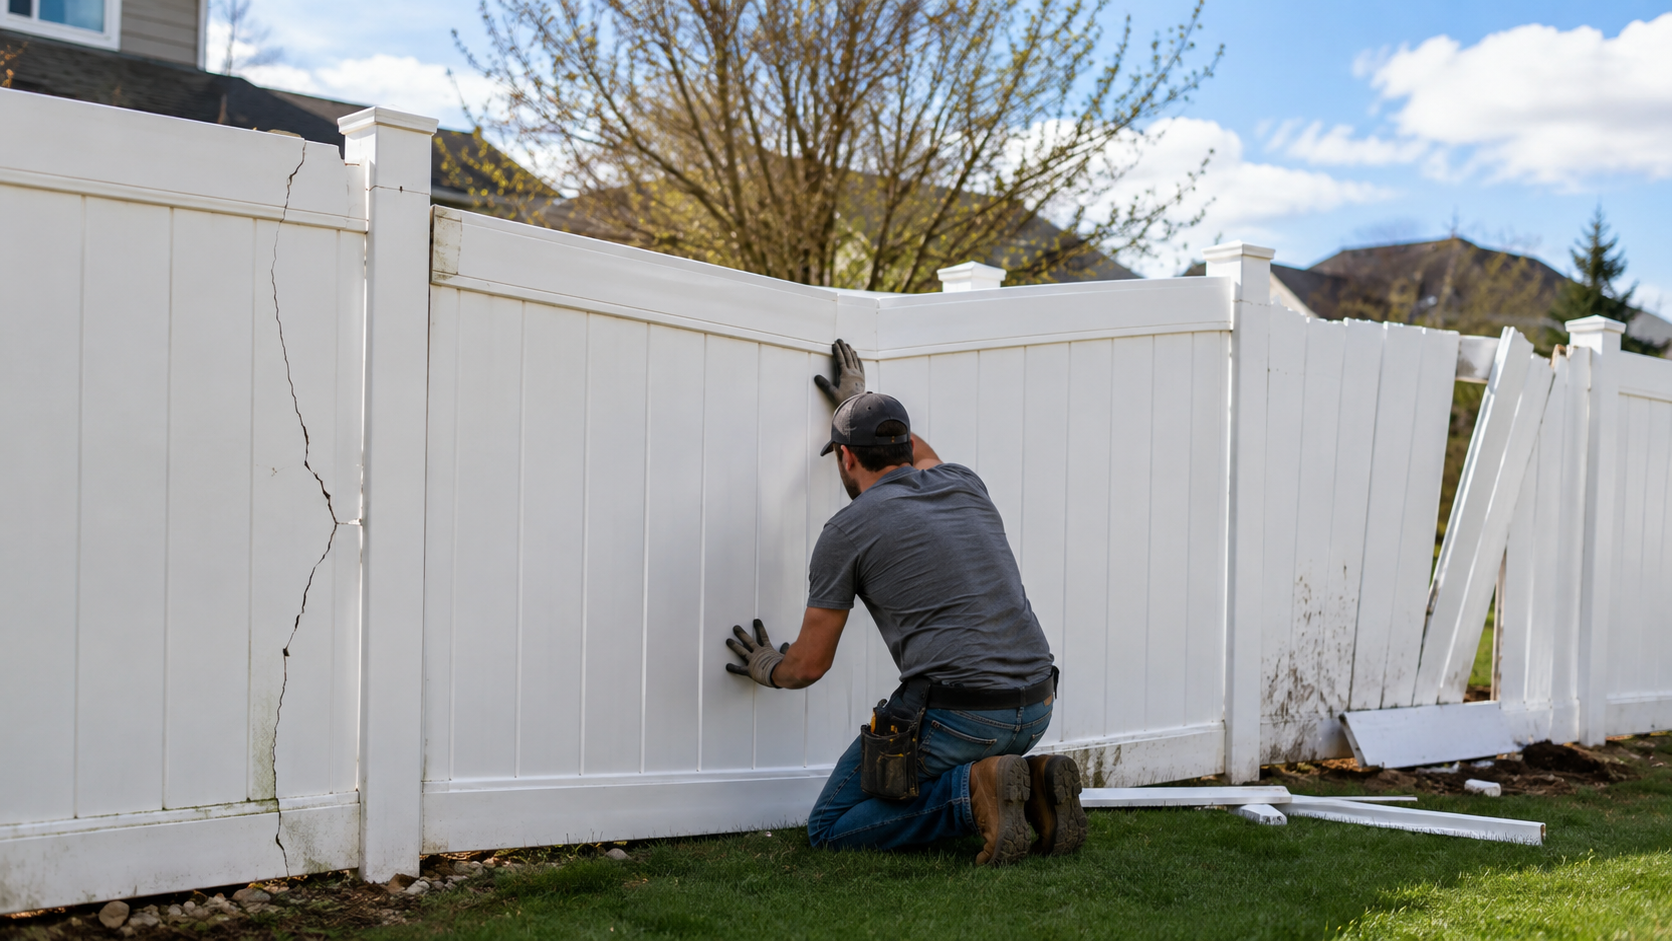
Staining over damaged wood doesn’t fix anything; it just hides it temporarily. Walk the full length of the fence before you start and look for loose boards, popped nails, split wood, or rot.
Replace anything that’s structurally compromised. Tighten loose hardware. Sand down splinters and rough patches so the stain goes on smoothly. This is also the moment to check posts for any leaning or wobble, since staining won’t fix a structural issue, only a surface one.
Skipping repairs to save time usually means redoing sections within a year or two, which costs more time in the end, not less.
Ideal Weather and Temperature Window
Timing matters more than most people realize. Stain needs the right conditions to cure properly, and Buffalo’s weather doesn’t always cooperate.
Look for a stretch of dry days with temperatures between 50 and 90 degrees Fahrenheit, with no rain in the forecast for at least 24 to 48 hours after application. Avoid direct, harsh sun during application if possible, since it can cause the stain to dry too fast and lead to uneven color.
Early spring and fall tend to offer the most reliable windows here, once the wood’s had time to dry out from winter moisture but before the heavy summer humidity sets in.
Checking a multi-day forecast before starting isn’t overkill. It’s the difference between a finish that holds up and one that needs redoing.
Brush vs Roller vs Sprayer
Each method has trade-offs, and the right choice depends on the fence style and how much time you’ve got.
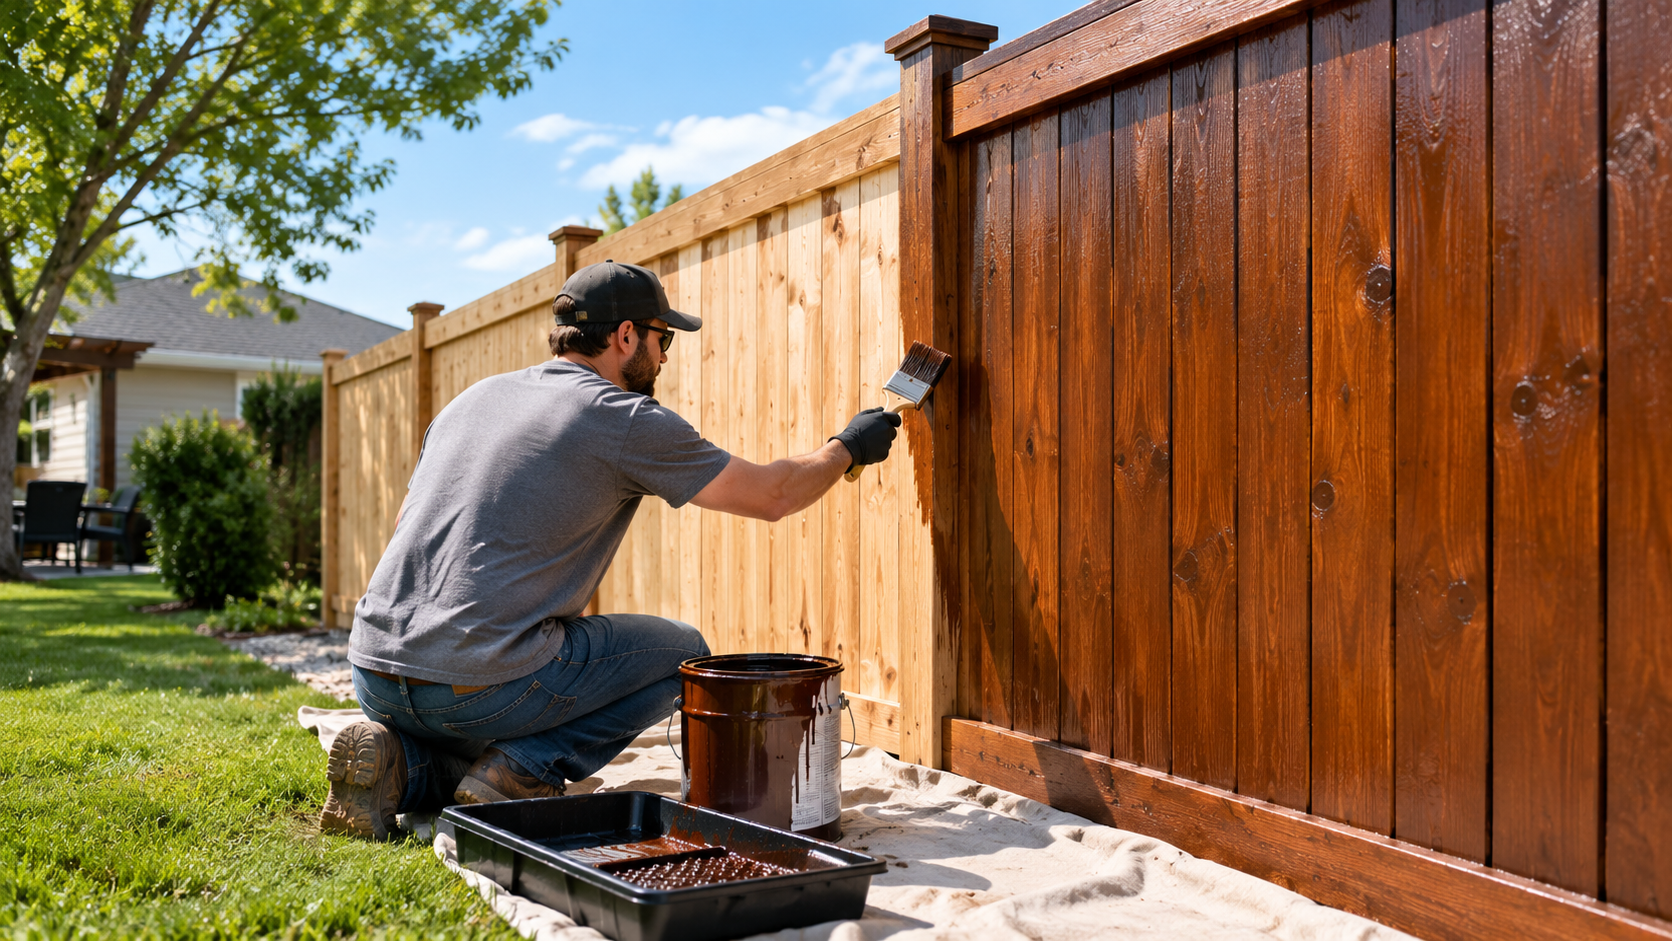
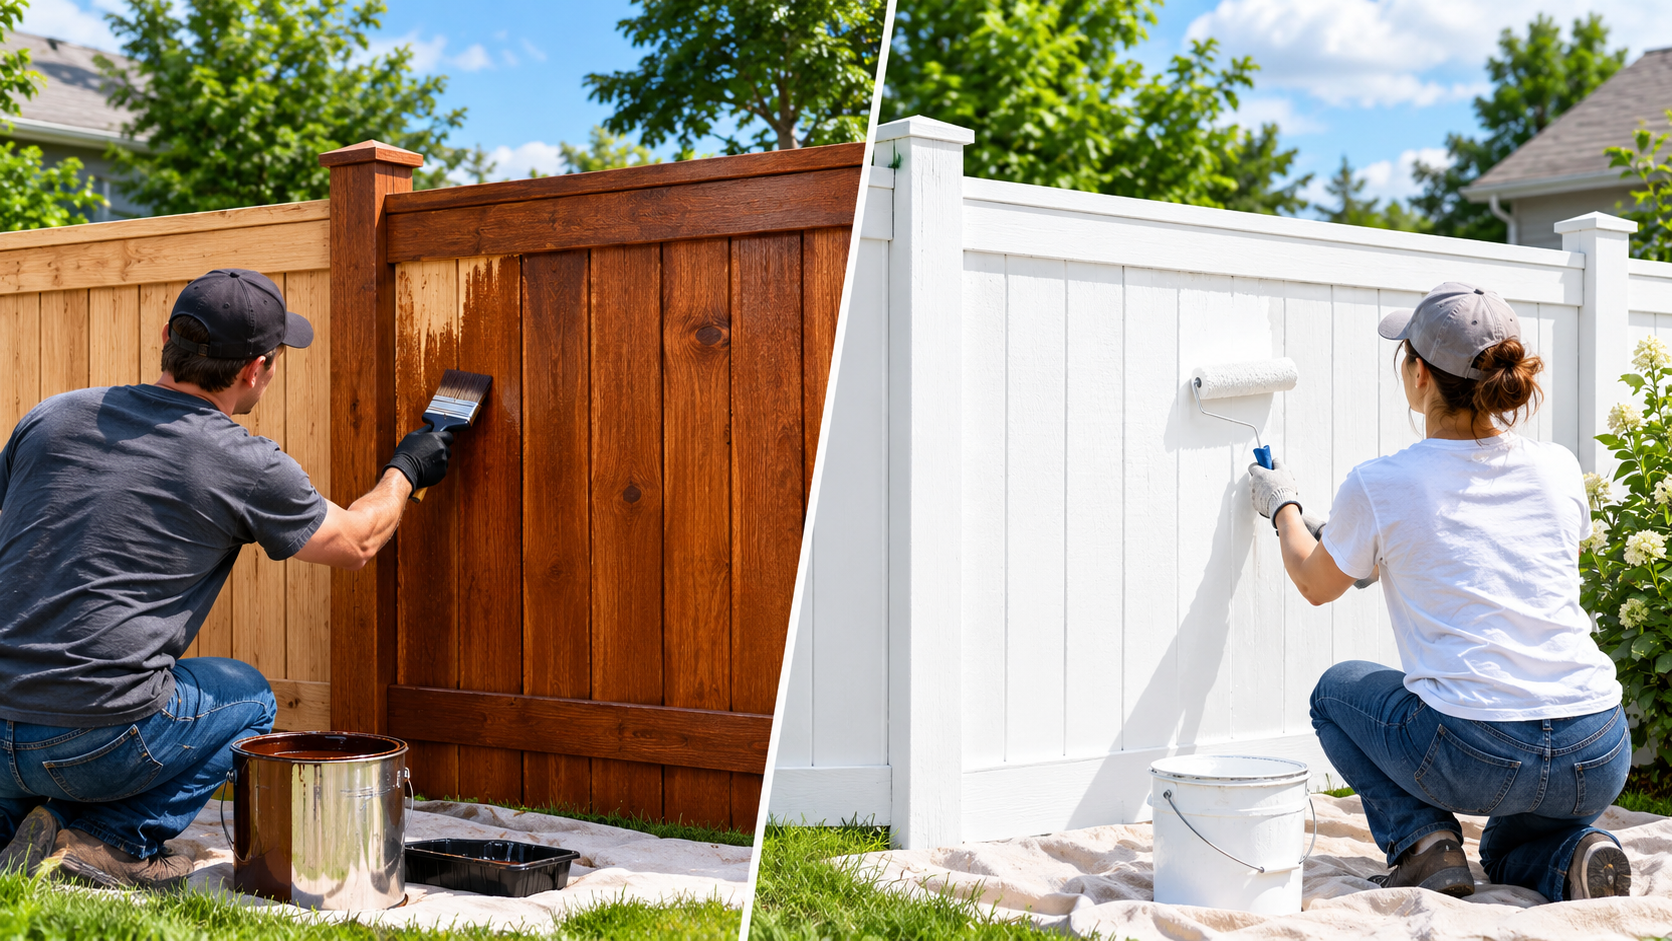
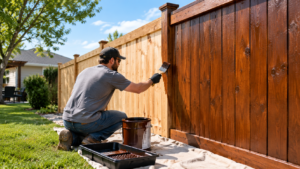
Brushes give the most control and work stain deep into the wood grain, which tends to produce the most even, long-lasting coverage. They’re slower, though, especially on a long fence line.
Rollers speed things up on flat panel sections but don’t always get into grooves, joints, or textured wood as well. A brush is usually still needed for detail work even when a roller handles the bulk of the job.
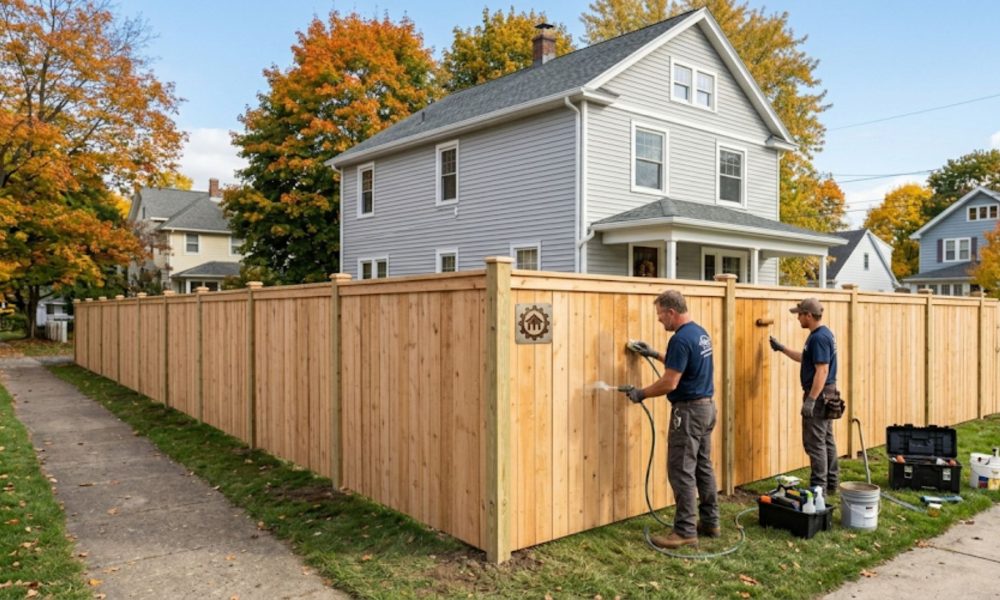
Sprayers cover ground fastest, which matters on a large property, but they use more product and require careful masking to avoid overspray on grass, siding, or anything nearby. Wind is also a factor. A breezy day and a sprayer don’t mix well.
Most experienced crews use a combination: sprayer or roller for speed on open sections, brush for detail and back-brushing to work the stain in evenly.
Application Technique for Even Coats
However you’re applying it, the actual technique matters. Work with the wood grain, not across it. Apply in manageable sections rather than trying to coat the whole fence at once, since stain that sits too long before being worked in can dry unevenly.
Two thin coats almost always outperform one thick one. A heavy coat looks like more protection, but it often just sits on the surface instead of soaking in, and it’s more prone to peeling down the road.
Keep a wet edge as you move along the fence. That means overlapping each new section slightly into the previous one before it dries, which helps avoid visible seams between work sessions.
Avoiding Lap Marks and Drips
Lap marks show up when stain dries before the next section overlaps it, leaving a visible line. The fix is mostly about pace: work steadily, don’t stop for long breaks mid-section, and keep sections small enough to finish before the edge dries.
Drips happen most often with too much product loaded on a brush or roller. Tap off excess before applying, and check back over finished sections a few minutes in to catch and smooth out any drips before they set.
Good lighting helps here too. Drips and lap marks are much easier to spot and correct while the stain is still wet than after it’s dried.
Drying and Cure Times
Dry to the touch and fully cured aren’t the same thing, and mixing them up is a common mistake. Most stains feel dry within a few hours, but full curing, meaning the stain has fully hardened and bonded, can take several days to a couple of weeks depending on the product and weather.
Keep pets, kids, and lawn equipment away from a freshly stained fence for at least 48 hours, longer if conditions are humid or cool. Rain within that window can wash away product that hasn’t fully cured, undoing a chunk of the work.
Cleanup and Disposal
Clean brushes and rollers according to the stain manufacturer’s instructions; oil-based and water-based products require different cleaning approaches. Don’t rinse oil-based stain down a household drain.
Rags and materials soaked in oil-based stain can pose a spontaneous combustion risk if bunched up and left to dry indoors. Lay them flat outside to dry fully before disposal, and check local guidelines for proper disposal of stain containers and leftover product.
When to Hire a Pro Instead
DIY fence staining is absolutely doable for a lot of homeowners, especially on smaller fences in good condition. But there are situations where calling in help makes more sense.
Large properties with a lot of linear footage can turn a weekend project into several weekends. Fences with significant repair needs, tricky access, or complicated designs benefit from experienced hands. And if the idea of matching weather windows, drying times, and even coverage across a big job sounds like more hassle than it’s worth, that’s a reasonable reason to bring in a crew.
At All Pro Fence Buffalo, we handle staining and sealing jobs across Western New York, from small backyard fences to larger commercial properties. Sometimes the right call really is doing it yourself. Other times it’s worth having someone who does this daily handle it instead.
A Job Worth Doing Right
Fence staining isn’t complicated, but it does reward patience and attention to detail. Following these straightforward fence staining tips and avoiding common pitfalls like rushing prep, ignoring the weather window, or skipping repairs makes all the difference. Take the time to do each step properly, and a stained fence can look good and hold up well for years.
Whether you tackle it yourself this weekend or decide it’s worth bringing in help, All Pro Fence Buffalo is around if questions come up along the way. We’ve seen just about every fence staining near me situation Western New York weather can throw at a project, and we’re happy to talk through what makes sense for your specific fence.
Frequently Asked Questions
How often should a fence be stained in Buffalo?
Most wood fences need restaining every two to three years, though it depends on wood type, sun exposure, and the quality of the previous coat. Fences facing harsh weather or direct sun year-round often need attention sooner than shaded sections.
Can I stain a fence right after installing it?
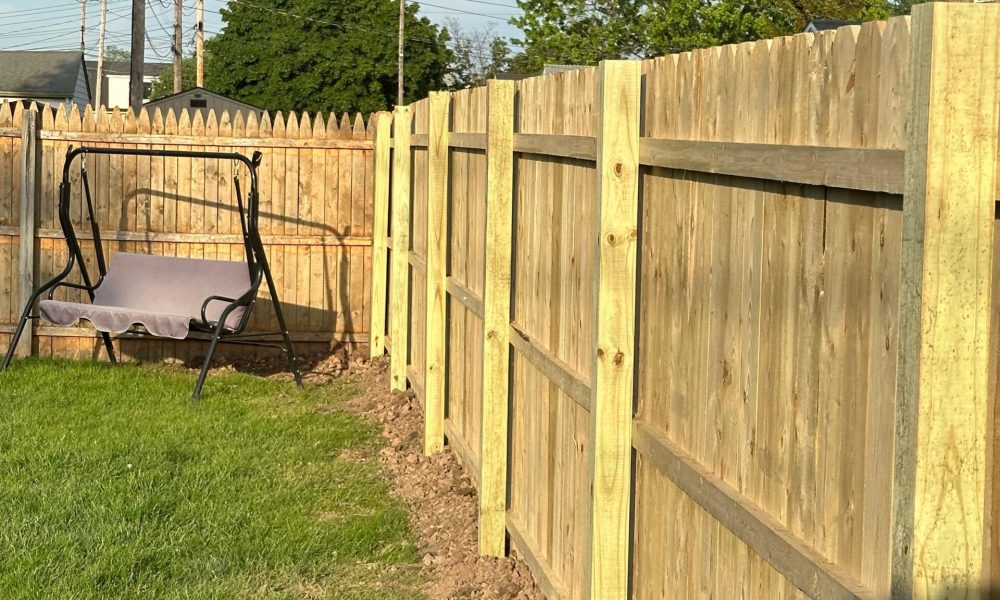
New pressure-treated wood usually needs time to dry out before it will properly absorb stain, often a few months. Untreated wood can typically be stained sooner. Check the specific wood type before starting.
What’s the difference between stain and sealant?
Stain adds color and some UV protection while soaking into the wood. Sealant focuses mainly on water resistance and is often clear. Many products combine both, offering color plus weatherproofing in one coat.
Do I need to remove old stain before applying a new coat?
Not always. If the old stain is worn but not peeling, a good cleaning is usually enough. A heavily peeling or flaking finish should be stripped or sanded first so the new coat bonds properly.
Is it better to stain in spring or fall?
Both can work well in Buffalo. Fall often offers more stable, dry conditions, while spring lets the fence recover from winter moisture first. Either works, as long as the temperature and rain forecast cooperate.
How long should I wait after rain before staining?
Wood needs to be fully dry before staining, which usually means waiting at least 24 to 48 hours after rainfall, longer in humid conditions. Applying stain to damp wood leads to poor absorption and uneven results.
Can I use the same stain for the fence and my deck?
Sometimes, but not always. Decks see more foot traffic and direct wear, so they often need a more durable product. Checking manufacturer recommendations for each surface helps avoid using the wrong type in the wrong place.