Outdoor staircases without railings are like taking a dicing with death. More accidents happen on the stairways than anywhere else in the house.
Installing railings can go a long way towards making stairs safer and easier to use. So, if your stairs are missing protection, go ahead and start planning for one. You can learn the installation process from this blog.
Read below!
STEPS TO INSTALLING RAILINGS
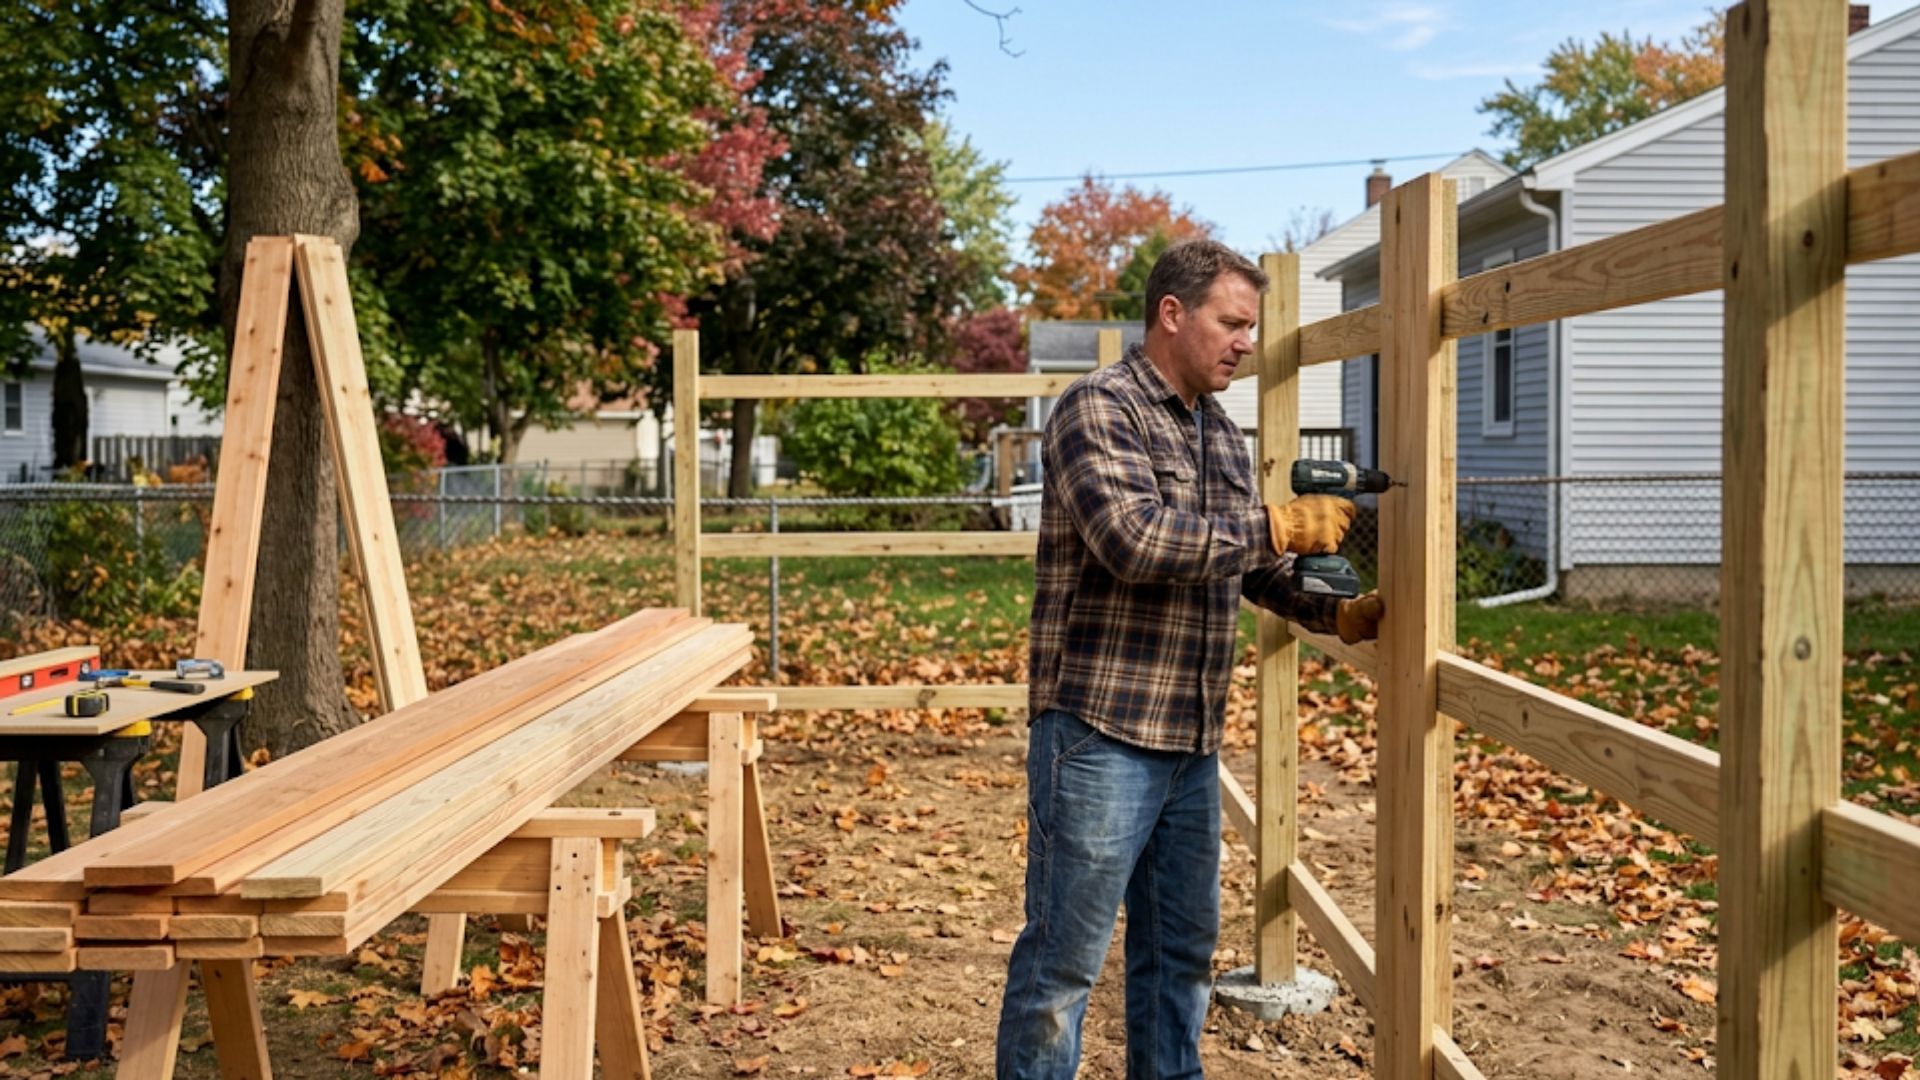
Step 1 – Prepare & Install Your Posts
- Determine how many 4×4 posts you’ll need to cover your railings. Put a post in each corner and place another supporting post 4-5 feet away from each other. Mark the center of each post on the installing area so you will know where to place them later.
- Measure the posts to the desired height. Keep in mind the building code requirements for installing railings. Usually, the top railing should be at least 36 inches in height.
Keep some extra length in the bottom of the posts to secure them to the deck. For instance, if you’re planning to install a 40-inch railing, add at least 4 inches to the bottom. This extra length will hang over the deck frame.
- Now, cut the posts to the desired height
- Make an overhang cut at the bottom of each post. This is the bottom portion of the post that you have measured to attach to the post of the deck.
To create an overhang cut of 4 inches, mark it from the bottom of the post. Then, calculate 2 inches from the side of the post to where you marked the 4 inches. This will usually be the center if you’re using a 4×4 post. All the cuts should be of the right angle to sit tightly on the decking.
- Once you’re done cutting, bolt the posts to the marked decking area. Line up the markings with the center of the post.
Step 2 – Build The Top And Bottom Rails
- Measure between each post to get the length you’ll need for the railing board. Then, cut the top and bottom railing boards.
- Seal the boards and let them dry sufficiently.
- Screw the top railing to the support posts first using pilot holes and then drilling. But before drilling, make sure the railing is level. Also, it must meet the safety and building codes of installing railings.
- Repeat the previous step for the bottom railings.
Step 3 – Attach Spindles (i.e., Balusters)
- You can make standard spindles from a 2×2 board for installing railings.
- To calculate the length of the spindles, measure from the center of the top railing till the center of the bottom railing.
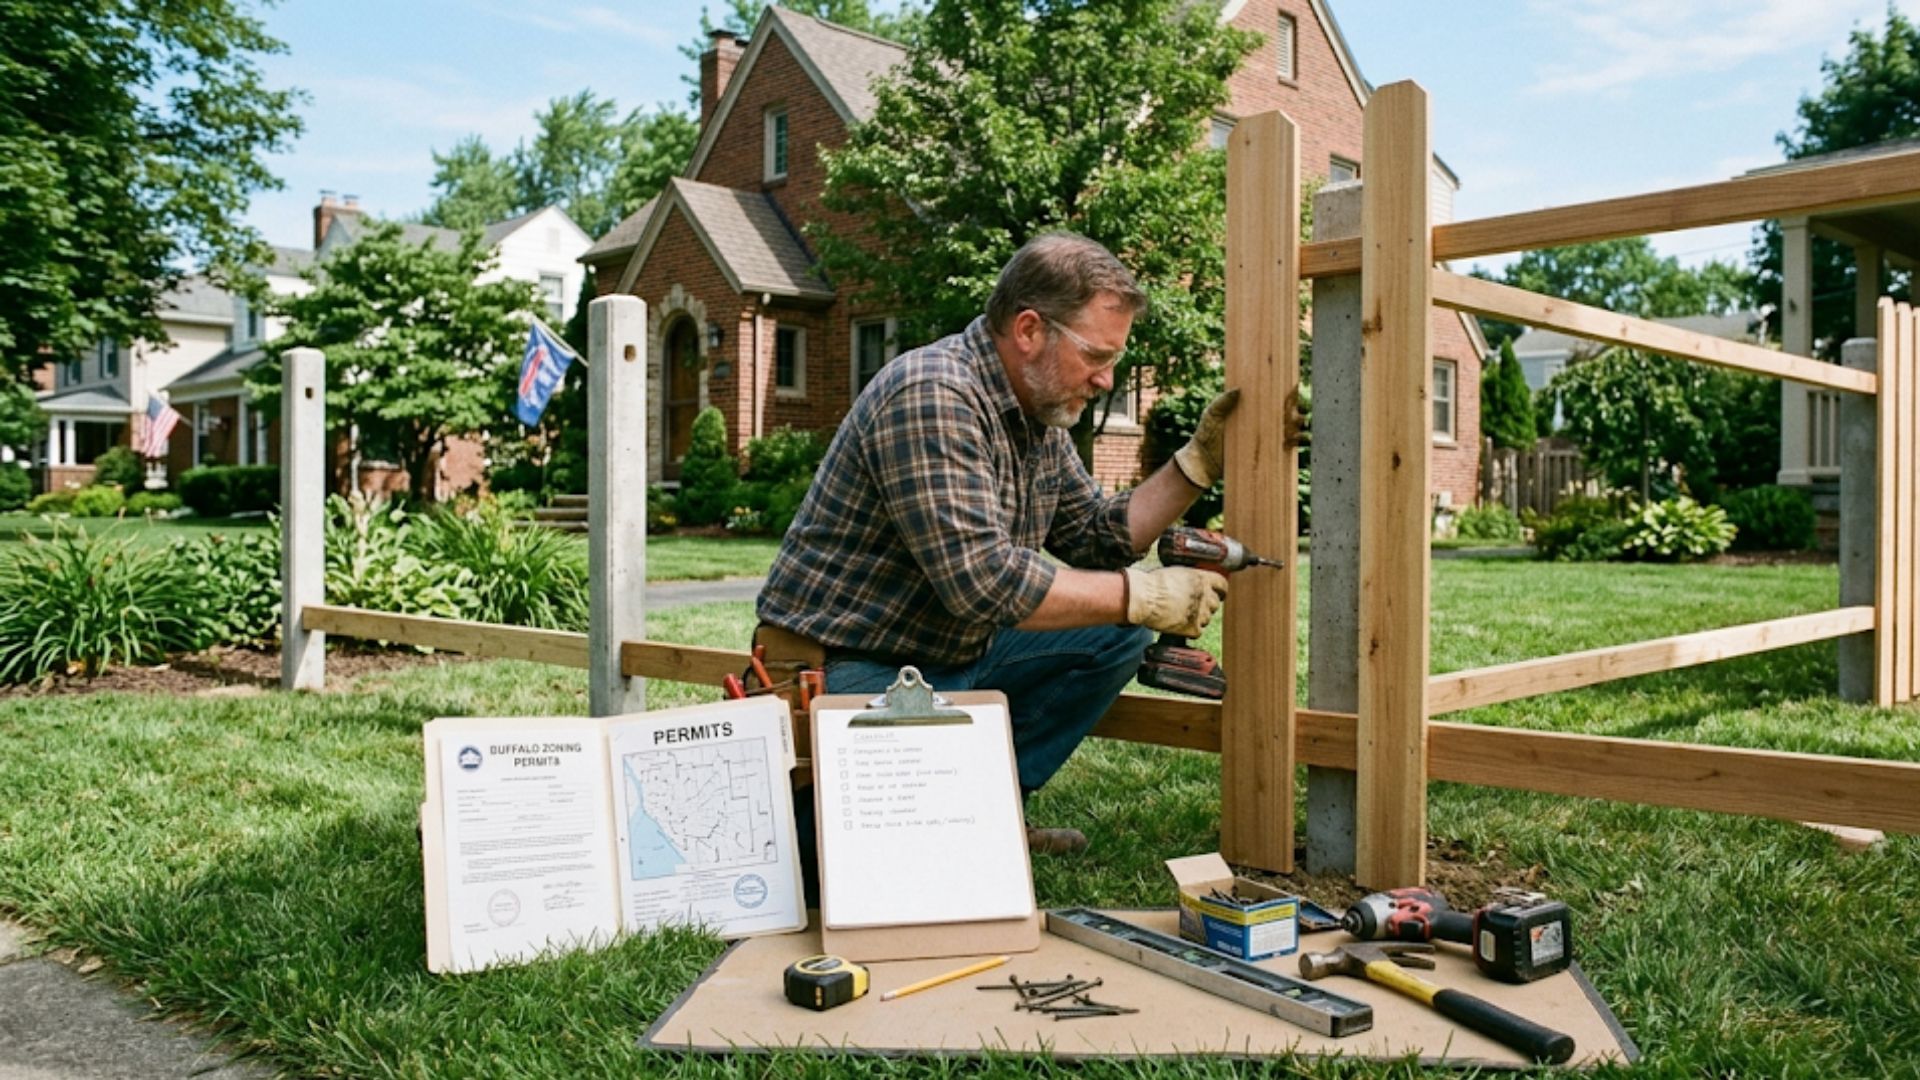
- Read the building code requirements for installing railings in Buffalo to determine the number of spindles you’ll need.
- Cut the spindles to the desired height.
- Create pilot holes to attach the spindles and then drill them into the top and bottom railings.
Step 4 – Add Finishing Touches, If You Want
Once you’re done installing railings, you can add finishing details like posts caps.
Takeaway
Follow the steps well and you can mount the stair railing sturdily and safely.
Do I Need A Professional Installer To Rightly Install Railings?
If you believe you have what it takes to install railings safely, then go ahead.
But if you’re not sure about it, call 716-452-9399 and seek the help of expert installers from All Pro Fence. You can also shop for excellent quality fence and railing installation materials from us at reasonable prices.