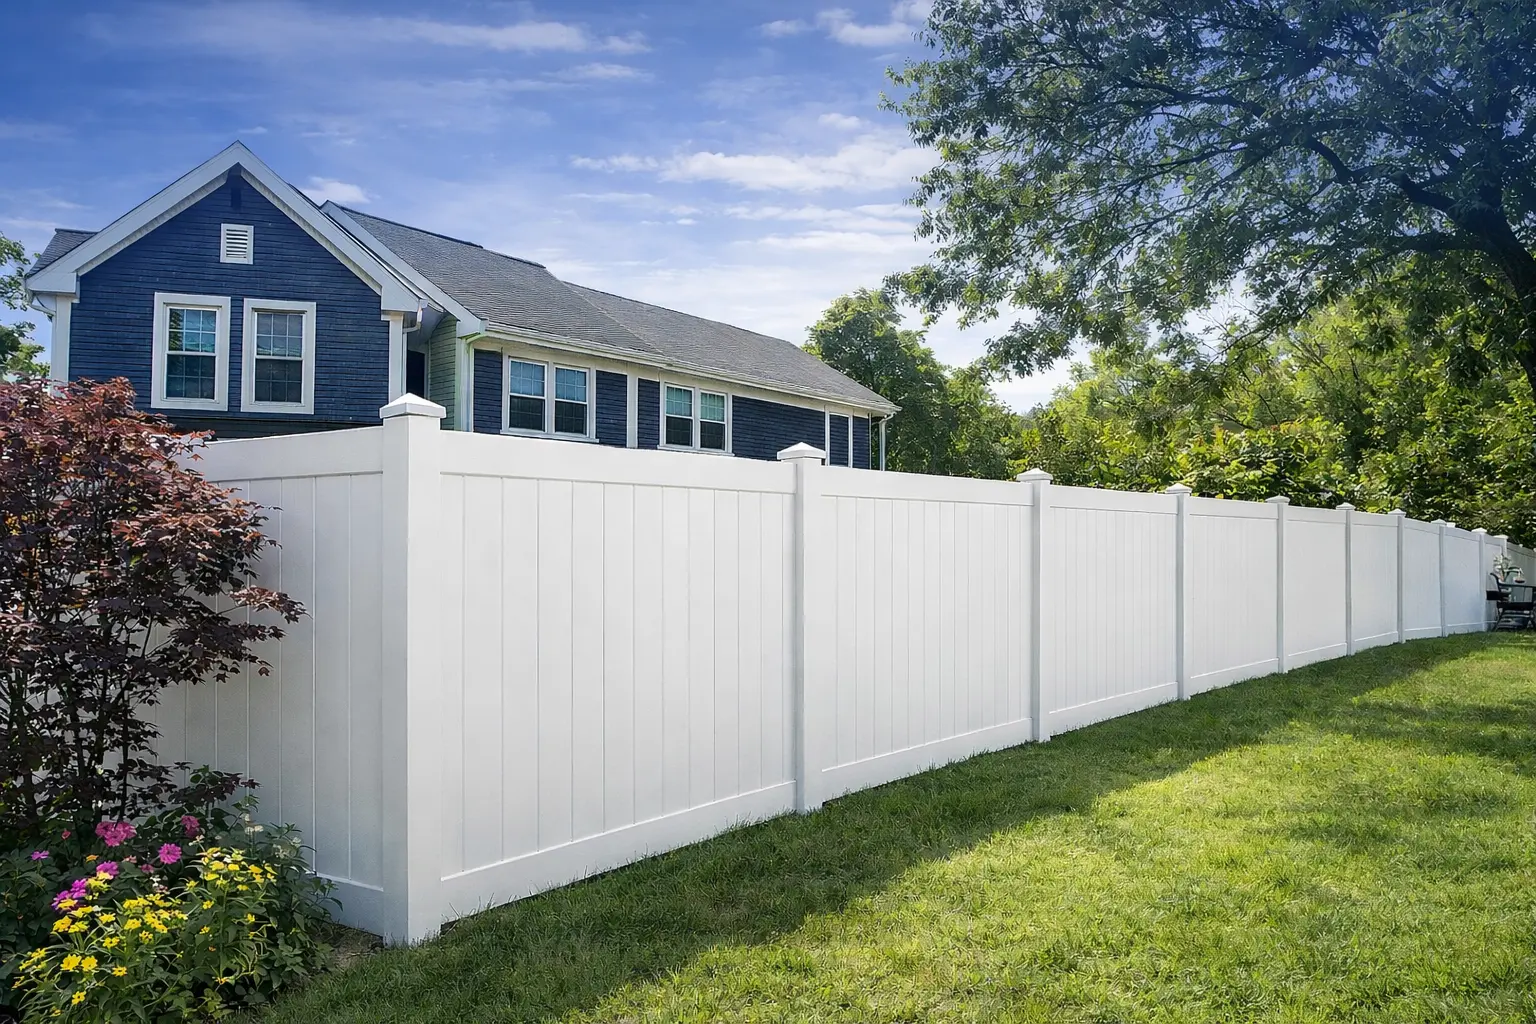
One of the best ways to increase security, mark property lines, and even make your Buffalo yard seem better is to install a chain link fence. This kind of fence is affordable, long-lasting, and does not require professional installation. If you’re prepared to install chain link fence yourself, our fence setup guide will take you step-by-step through the process in an easy-to-understand manner.
Let’s begin!
Why Should Buffalo Yards Use Chain Link Fencing?
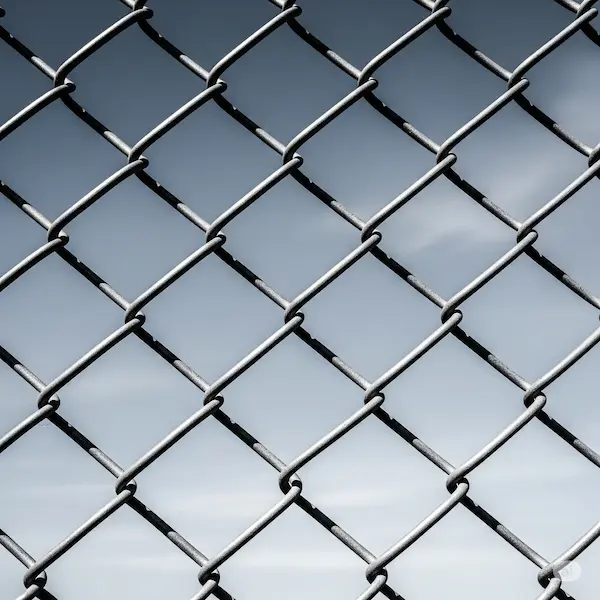
From windy fall seasons to snowy winters, Buffalo residents have particular weather concerns. Strong, low-maintenance, and wind-resistant, chain link fencing is the best option. It is ideal for gardens and pet areas because it doesn’t block sunlight. If you desire additional coverage without sacrificing airflow, you can even install privacy slats.
Additional advantages consist of:
Durable galvanized steel structure
Simple to install and fix
Ideal for both level and sloping terrain
Chain link fencing is a wise choice, whether you’re fencing in a side lot, backyard, or garden.
Equipment & Supplies Required
Make sure everything is ready before beginning your DIY chain link fence install. Make use of this checklist to maintain organization:
Tools for chain link fencing:
- Post-hole digger
- A measuring tape
- Level
- Fence puller (come-along tool)
- Socket wrench set
- Shovel
- String line and stakes
Materials:
- Mesh chain link fence fabric
- Corner posts and line posts
- Terminal posts, including gates and terminations
- Top rails
- Bars and tension bands
- Fence ties or tie wires
- Gate kit (if one is being added)
- Mixture of concrete (for placing posts)
- Slats for privacy (optional)
Your project will go more smoothly and quickly if you have the correct equipment and supplies.
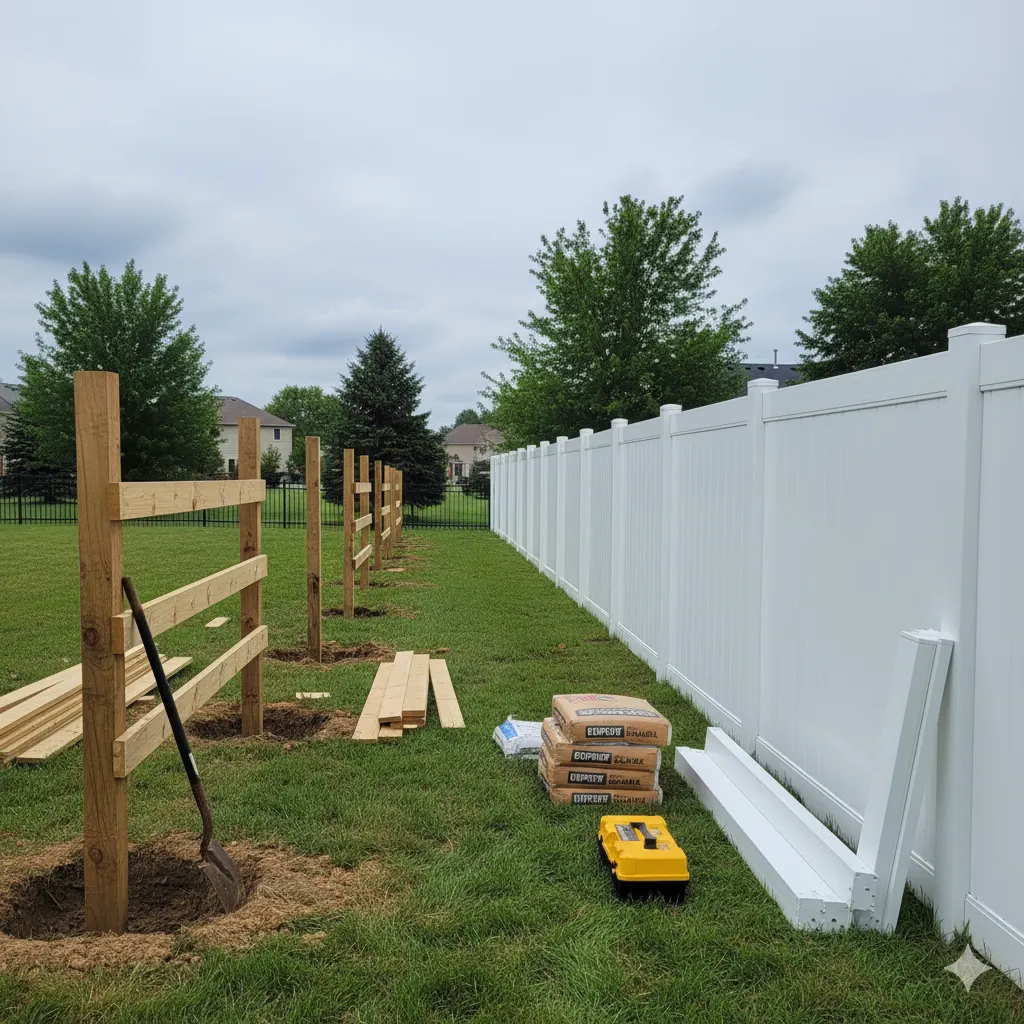
Arrange the Layout of Your Fence
Planning is the first step in a well-executed chain link fence installation. To map things out, follow these steps:
Measure the fence line with a tape measure. Explore the entire region where you intend to construct.
Outline the layout with stakes and string.
Mark the locations of each post and space them six to ten feet apart.
Make sure to properly designate gate locations and corners.
Confirm your property lines to prevent problems with boundaries.
This is a crucial step in the fence setup guide. A neat, polished DIY chain link fence installation is made possible by careful preparation.
Not sure which style suits your yard best? Learn about the different types of chain link fencing and how to choose the right one for your needs.
Here are the Steps to follow when installing your fence
Step 1: Create a Fence Layout Plan
Start by organizing your fence’s overall design. Mark the locations of each corner post, gate post, and line post with stakes and a measuring tape. After that, use a string to join the stakes so that your fence is clearly defined.
Step 2: Dig Post Holes and Mark Them
Mark the locations where you will dig the post holes once your arrangement is complete. Line posts are usually placed six to ten feet apart.
Digging Advice: Renting a power auger can make the task easier because Buffalo’s soil can be difficult, particularly during the winter.
Each hole should be dug about 8 inches wide and 30 inches deep.
To provide additional stability, drill holes that are a little deeper—about 36 inches for gate and corner posts.
Step 3: Pour concrete over the posts
Since they serve as the primary support for your fence, begin by installing your corner posts, gate posts, and end posts.
How to Set a Post: Make sure the post is precisely level before inserting it into the hole.
As instructed, add water after pouring in the concrete mix.
Give the concrete the time it needs to cure, which is often 24 to 48 hours.
Before the concrete completely hardens, make one more check of the post alignment.
Set the line posts in the same manner as your corner and end posts after they are strong.
Step 4: Connect the Hardware
It’s time to install the fence hardware now that your posts are securely in position. Every post will require a few things:
- Tension bands, particularly for end posts and corners
- Brace bands
- Caps for posts on the top
- Loop caps for supporting the upper rail
Verify that everything is correctly aligned and tightly protected.
Step 5: Installing the Top Rail
The top rail maintains the stability of the fence by joining the posts.
On each line post, slide the top rail through the loop caps.
Use rail ends and brace bands to fasten the rail to your end and corner posts.
Using a hacksaw, cut off any extra length.
Step 6: Unfold the chain link fabric and attach it.
The foundation of your do-it-yourself chain link fence installation is this stage.
- Along the fence’s side, unroll the chain link fabric.
- Through the first row of links, insert a tension bar vertically.
- Attach a tension band to the end post and fasten the tension bar to it.
- Stretching the Fence: Tighten the fabric along the fence line using chain link fencing tools like a fence puller.
- After the fabric has been stretched, slide a tension bar onto the other end and fasten it to the subsequent post.
Step 7: Fasten the Fence Fabric
Use fence ties or tie wires to secure the stretched fabric to the top rail and each line post. The ties should be spaced every 18 to 24 inches along the line posts and every 12 to 18 inches along the top rail. This keeps your fence strong and stops it from sagging over time.
Step 8: Installing the Gate
If a gate is part of your fence design:
Securely fasten the hinges to the gate post.
Make sure the gate is properly oriented before hanging it.
Make sure that the gate opens and shuts smoothly after installing the latch.
Step 9: Adding privacy slats is optional.
Consider adding privacy slats to your fence if you want more seclusion or wind protection. They are available in a range of hues and materials to complement the design of your yard.
These slats not only increase privacy but also offer your fence a smoother, more polished appearance and lessen snow drifts in the winter.
FAQ
A permission is necessary in most of Buffalo's locations. Before beginning, always verify with the authorities in your area.
Well! A do-it-yourself installation is completely doable with the correct chain link fencing equipment and a detailed installation guide.
Privacy slats are wind-reducing and privacy-enhancing inserts for chain link fabric. Although optional, they are excellent for Buffalo's winters.
Are you prepared to begin building your fence? For professional installation and friendly service, give All Pro Fence Buffalo a call right now at 716-452-9399!